I feel like I wrote about the resin AEM-7 made from a silicone mold a long time ago, but I can't find it, so I wrote an article about making the AEM-7 (lol)3D printerThis is a story from a long time ago (lol)
Launch of New-Ray AEM-7
at that time,AtlasNew-Ray's release of N scale size toys became a hot topic on the bulletin board.One of the lineups is the long-awaited AEM-7, and we are planning to make it into N scale right away.Immediately after its release, it was imported from America.Here is the set that arrived.
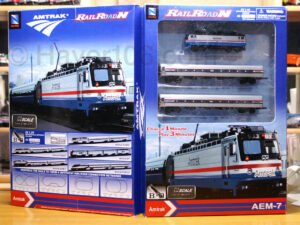
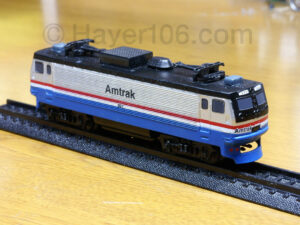
A product that includes AEM7 and Amfleet II.It was a battery operated model train.He was also thinking of converting the Amfleet II to N, but it was a bit oversized so he gave up.I decided to use only AEM-7 for the time being.
die cast body
I thought I would be able to make a die-cast body somehow with my guts, but it was a struggle.I couldn't open even a single window with the tools I had at the time, so I gave up (lol) So, for the first time in my life, I changed my strategy to making a silicone mold.I went to Tokyu Hands based on the sites of people who make figures online.I have procured various things.
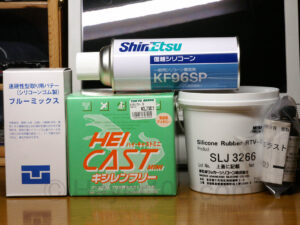
It seems that liquid silicone and resin are sufficient.Since I was at a loss, I decided to use clay-like silicone for partial copying.blue mix” I also got it.
Making a mold with silicone
This was my first silicon copy, and I didn't really understand the process, but the general process of copying was like this.Strictly speaking, you'll need to think about the resin inlet and the air escape route, so it might be a good idea to practice since it's small at first.
Silicone mold - making the top half
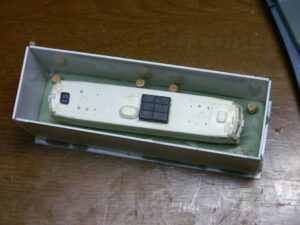
- Spread clay under and inside the model you want to copy.
- Insert a stick or similar object into the blank space to create unevenness (for engagement)
- Build a fence.
- Drop silicon.Leave it for a day.
Silicone mold - making the lower half
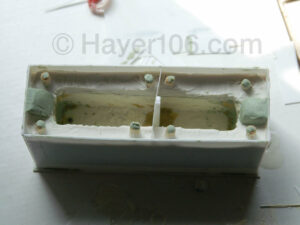
- Once the top half has hardened, turn it over and remove the clay.
- Apply silicone remover and drop silicone for the bottom half.
- Leave it for a day.
Check resin inlet and air escape route
Normally I would think about it first, but I ended up making the mold without thinking about it, so I used a drill and cutter later to secure the inlet and air escape route (lol) Originally, I used toothpicks or wire. It seems that it will be embedded.
Adding resin
When I mixed the resin solution and poured it into the holes of the silicone mold, it solidified within a few minutes.And when you remove the silicone mold, it looks like this (^^)
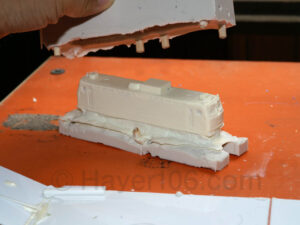
Deburring
Then remove it from the mold and deburr it.If you make a mold roughly like I did, it will take more time and effort, so it's better to think carefully when making it (lol).If you lightly blow the surfacer, it will look like this.The trolley reliefs are made from clay-like silicone molds.
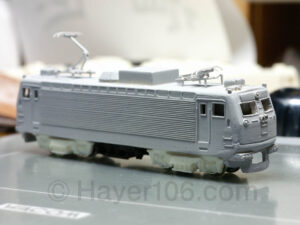
Painting/finishing
Strictly speaking, I only have photos up to the middle, so it's a little disappointing, but this is roughly how it ended up.The pantograph isTomixI remember arranging it a bit (I don't remember lol)
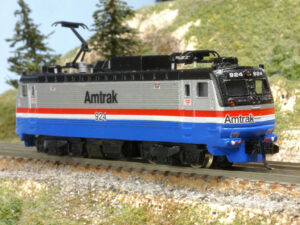
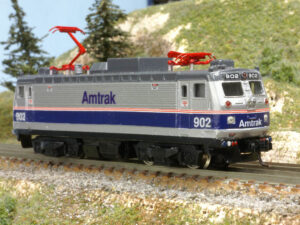
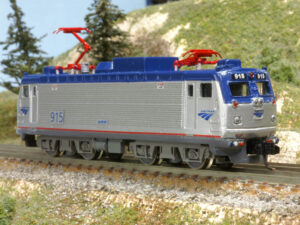
It's still a sloppy article, but I hope it's of some use.Oh, I guess (lol)