Rohr turbo liner productionThis is part 2 (lol)
Last time I wrote about the 3D output, so this time I'll start by fixing the unevenness on the surface.At first, I thought I could get away with just sanding it down, but plastic is surprisingly hard and it's difficult to sand.What's more, the inner layer is not completely attached, so even if you scrape as much as you can, you won't be able to completely erase the streaks in the layer (tears). did.
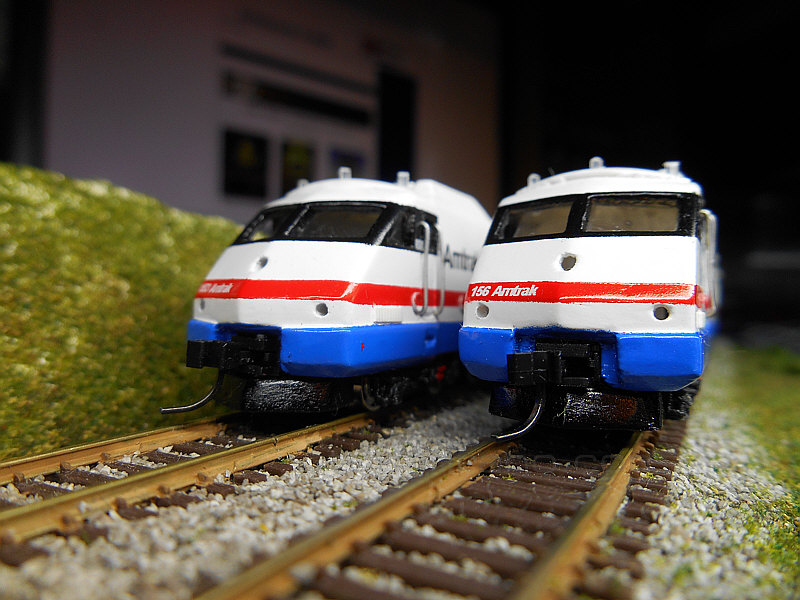
I think it will disappear if I apply surfacer over and over again, but I thought it would be a little costly due to the cost, so I tried various methods such as imprinting putty on it.It took quite a while, but it turned out well.The left side is as is, and the right side is finished with putty, scraping, and surfacer.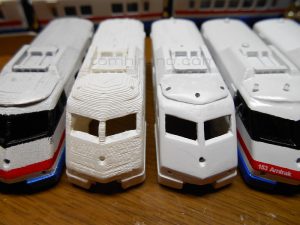
Since many files are used to prepare the surface, details are deliberately omitted in the 3D output.It was easier to work by preparing the surface and then attaching it as a separate part.Once it's flat, you can attach other parts, and then cover the whole thing with a surfacer for a more unified look.
After scraping, paint.I kept the white as a surfacer (lol), but I painted the area around the cab window black, the bottom part blue, and added a red band. I made white letter decals using an MD printer, and for the black Amtrak logo, I selected a commercially available product from Microscale.
If you look closely, there are a lot of flaws, but I was satisfied with the composition of the first issue.
